nvidia-intel-passthrough independent display
This article was translated by the Chinese version using Google Translate
Chinese : nvidia-intel-nvidia-直通独显 | Juana’s Blog
This article was translated by the Chinese version using Google Translate
1. Please make sure your bios supports pci passthrough (VT-D virtualization)
2. Linux cannot use CUDA after passthrough
Environment preparation
1.windows iso file windows distribution in China, viro driver iso
2. A computer equipped with ubuntu uses grub as boot
start installation
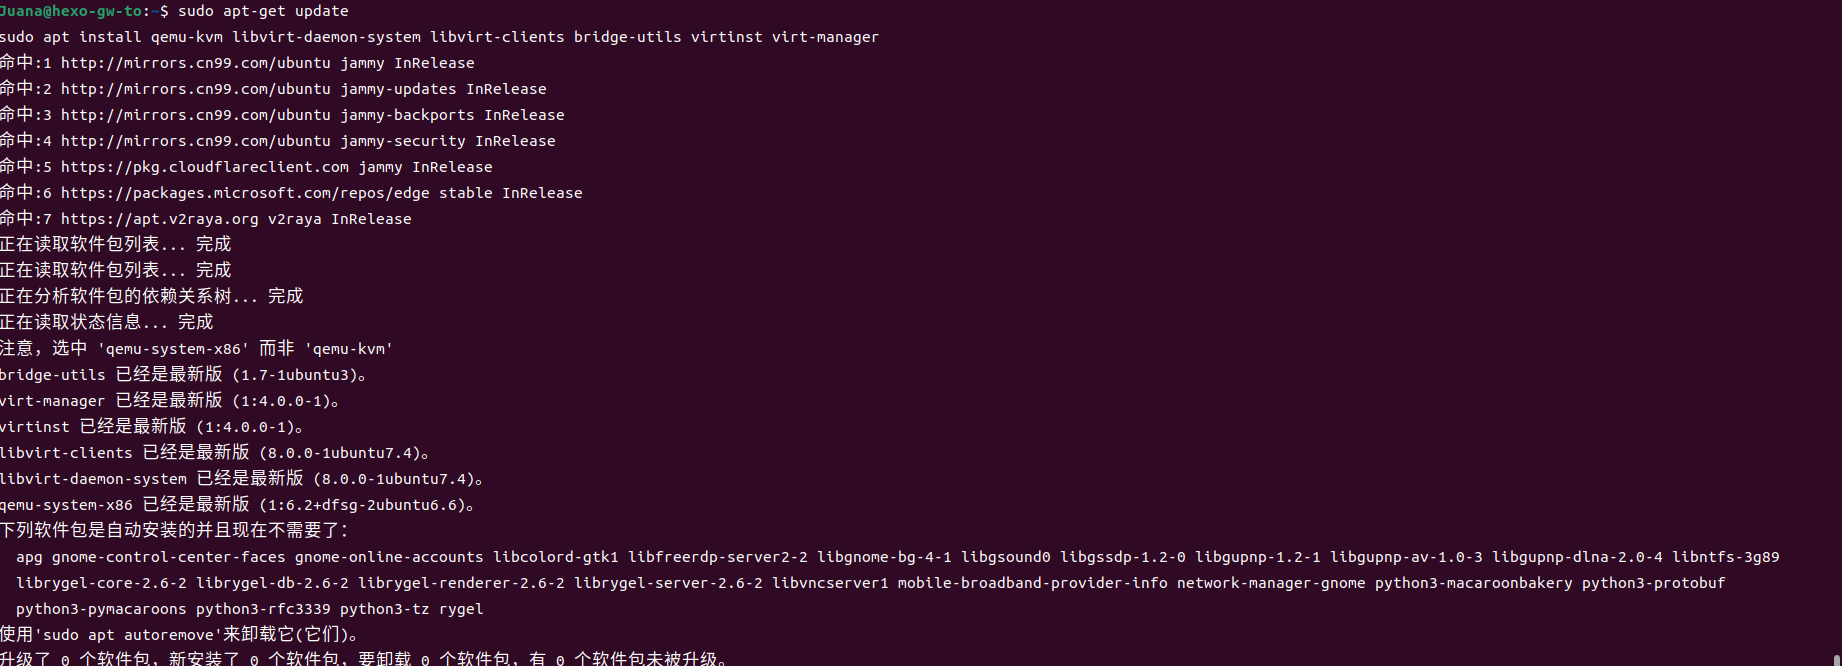
1. Install KVM
1 | sudo apt-get update |
2. Setup libvirt
1 | sudo systemctl start libvirtd |
3. Give users permission to manage kvm
1 | sudo usermod -aG libvirt $USER |
4. Open iommu
Check if iommu is enabled
1 | cat /proc/cmdline | grep iommu |
 If the output is like the picture above, please go to the next step
1 |
|
Add intel_iommu=on inside =”” of GRUB_CMDLINE_LINUX_DEFAULT

After adding, press ctrl + x to save and exit
1 | sudo update-grub |
Then restart the computer with sudo reboot
5. Unbind the graphics card from the host
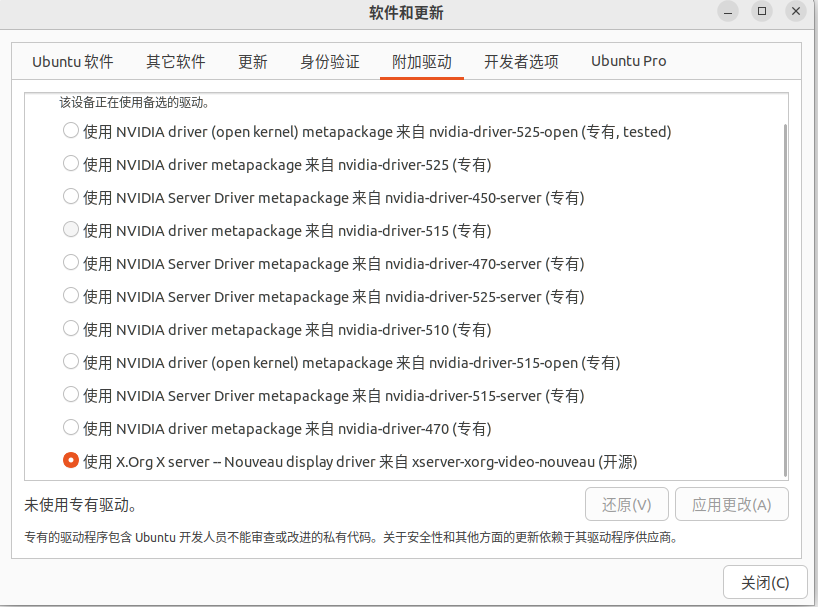
Change nvidia driver to open source driver
Change root password: sudo passwd root
su
1 | echo 'blacklist nouveau |

Reboot system sudo reboot
Install the system and configure the independent display passthrough
Open virt-manager to create a new virtual machine
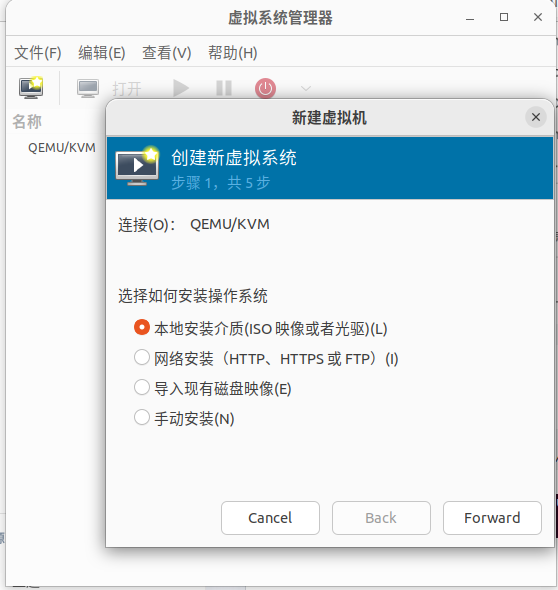
In the second step, choose the iso of windows
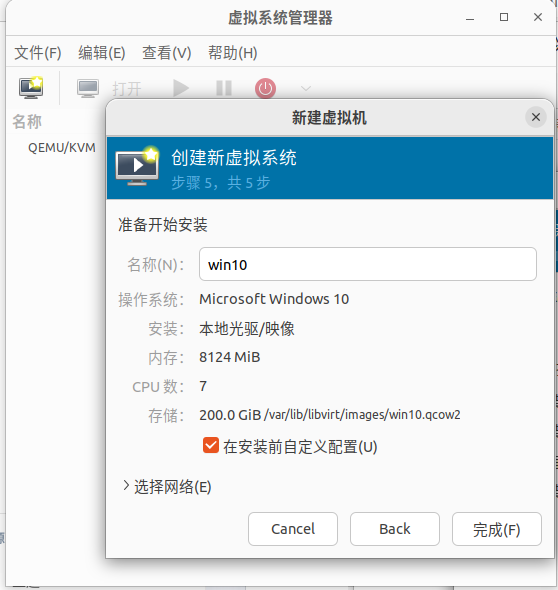
Tick Customize configuration before installation Click Finish
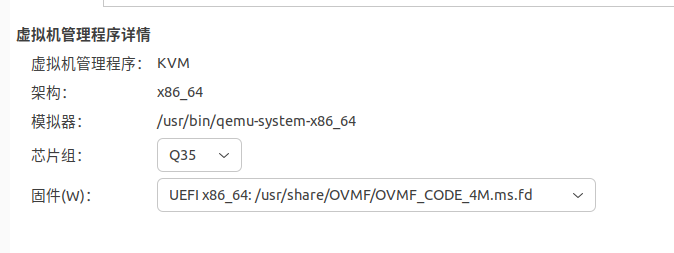
If it is windows10, select according to the above picture
For win11, select x86_64 with secboot
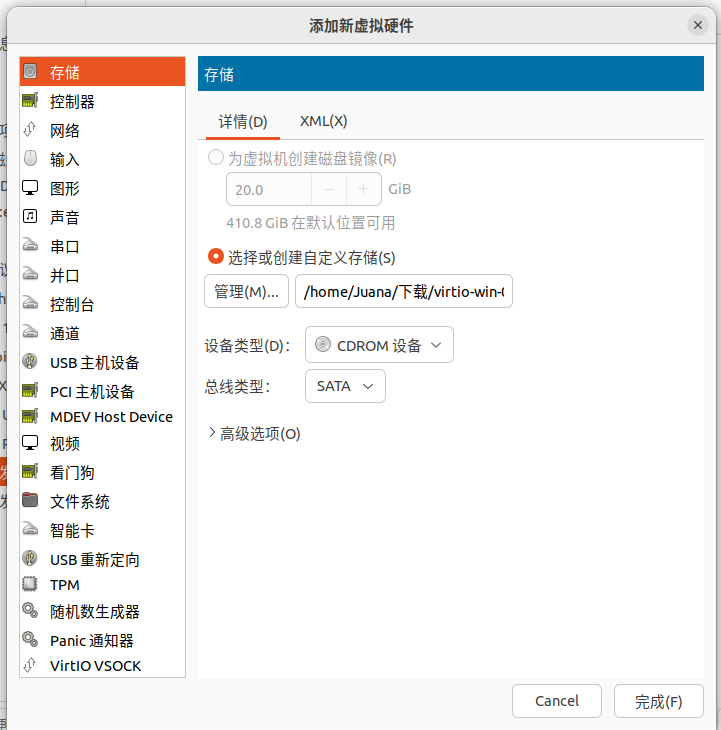
Change hard drive from sata to virtio
Add viro driver iso
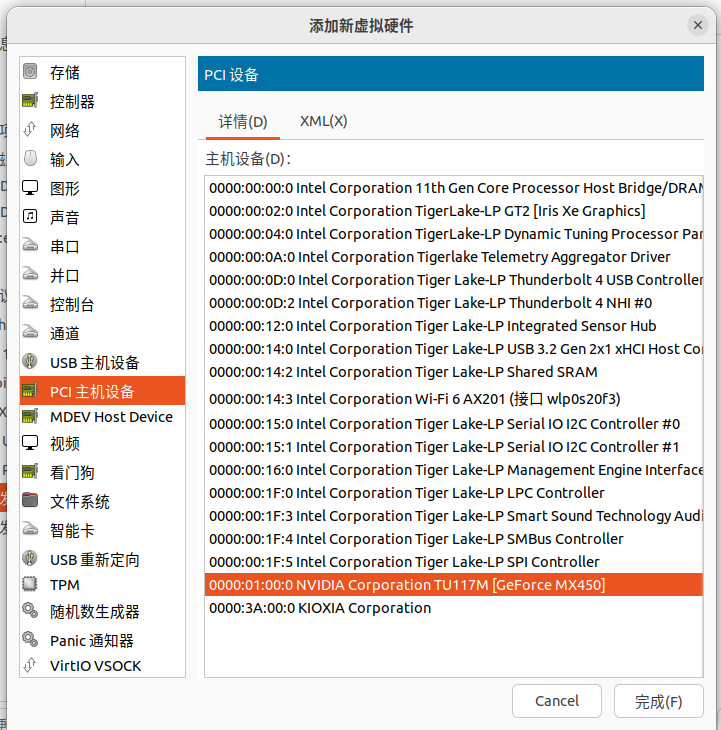
pci passthrough independent display
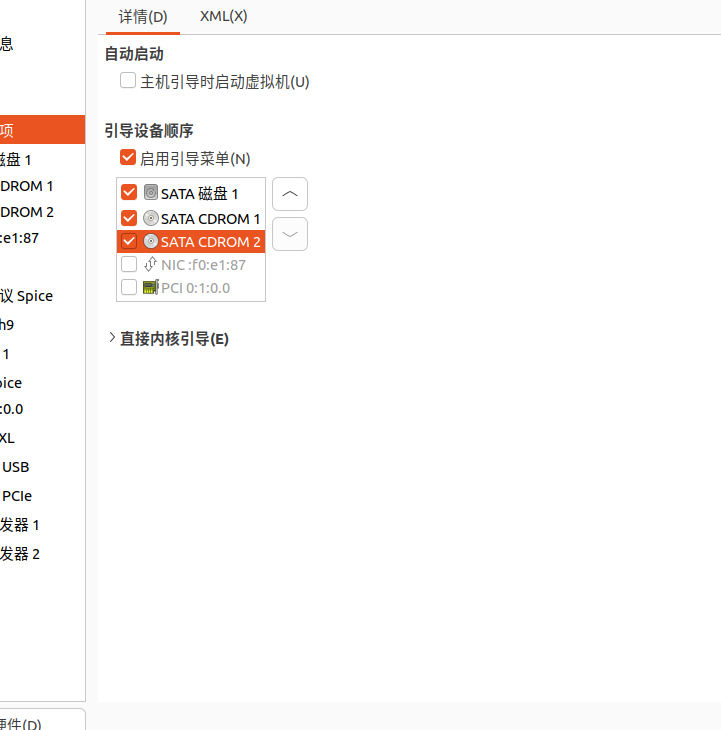
Be sure to modify the boot option
After modifying the configuration, click Start Installation
Press any button (do not press the power button) to enter the Windows installation when booting
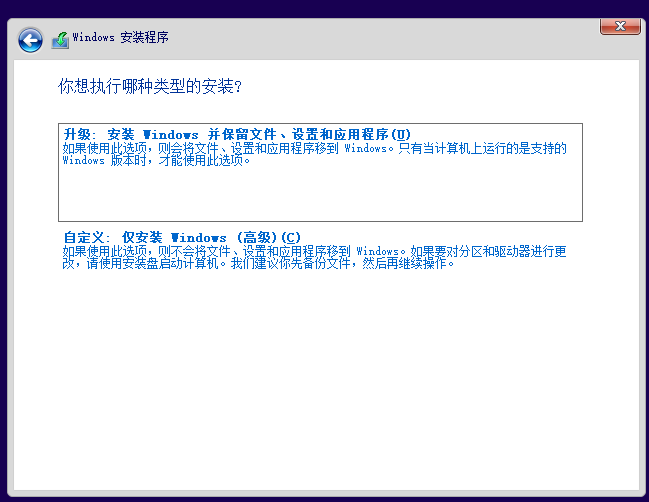
Select Custom
Click Load Driver OK to select the applicable driver for your Windows version
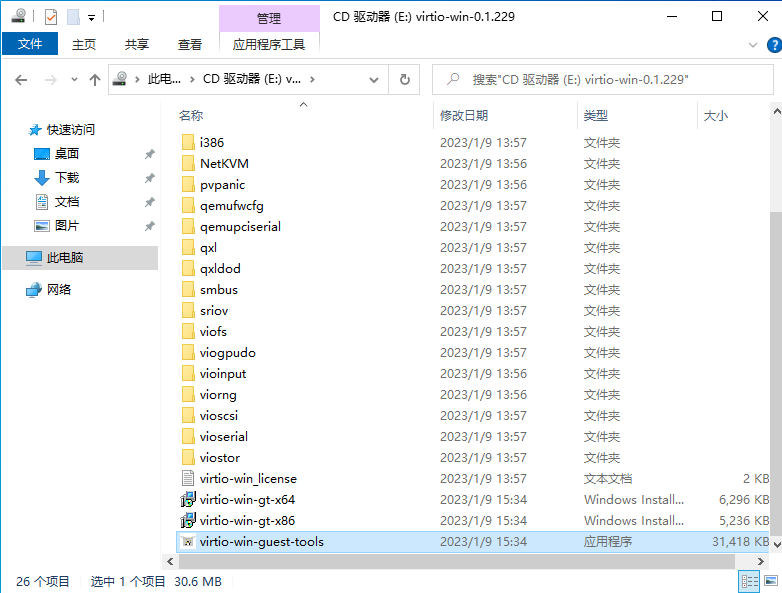
Install guest-tools as administrator
Be sure to go to nvidia official website to install the latest driver
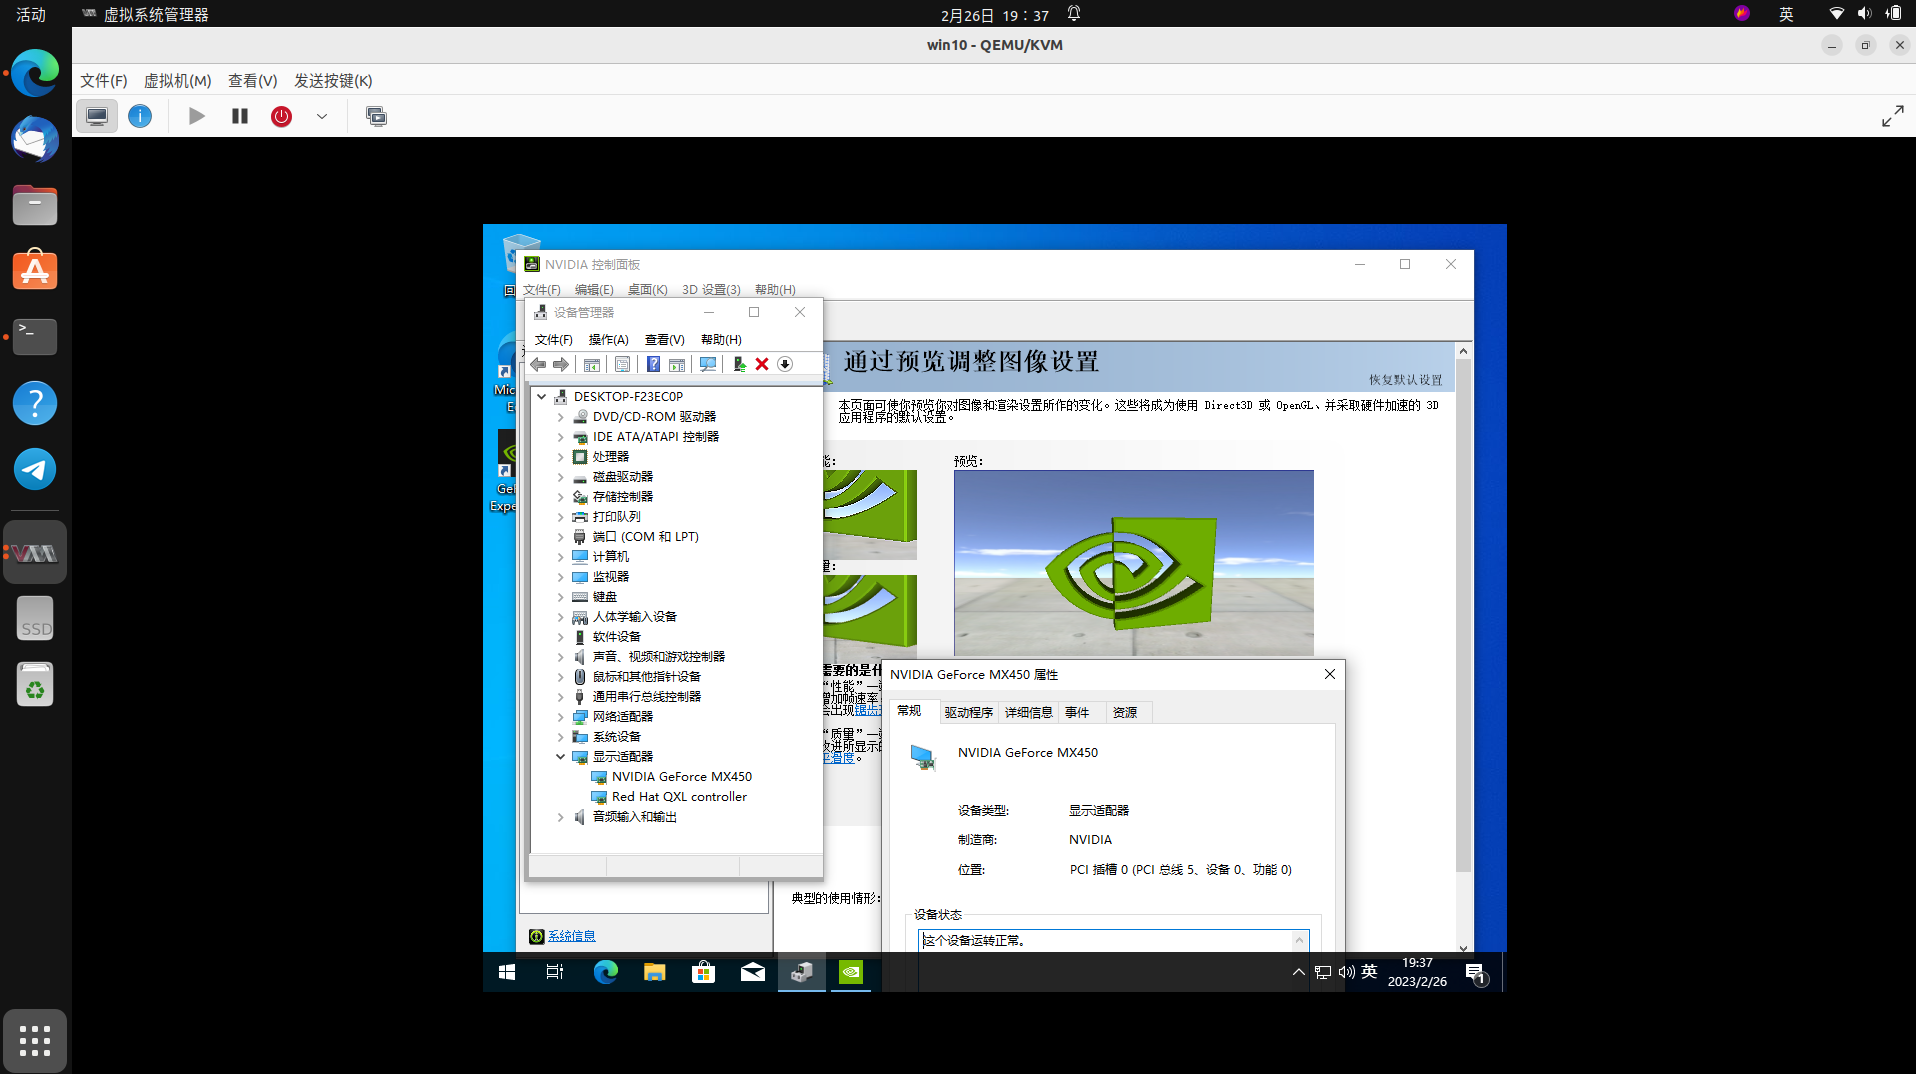
Straight through to success, enjoy it!


