Use windows to deploy hexo+gitlab pages
This article was translated by the Chinese version using Google Translate
Chinese version: 使用windows部署hexo+gitlab pages环境
Preparation
install Git
Go to Git official website to download windows and install it.
Install Node.js
Go to NodeJs official website to download the windows version and install it.
Register Gitlab account
Go to Gitlab official website to register.
deploy blog
Install Hexo
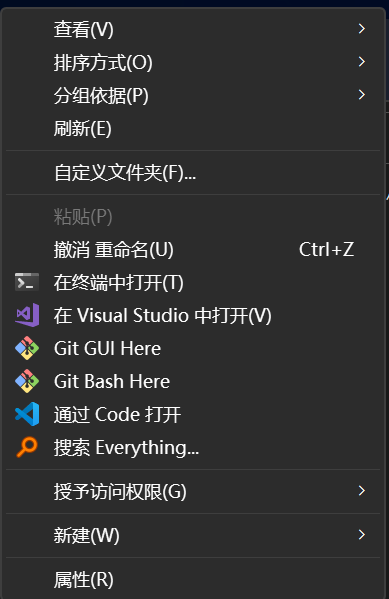
Create a new blog folder, go to the folder, right click, and select git bash here.
Enter the command to install Hexo:
1 | npm install --save hexo-renderer-jade hexo-generator-feed hexo-generator-sitemap hexo-browsersync hexo-generator-archive hexo-renderer-pug hexo-renderer-stylus |
Enter the command to install Hexo: After the completion, enter the command to initialize Hexo:
1 | hexo init hexo |
Go to the hexo directory and install dependencies:
1 | cd hexo |
Enter hexo clean to test whether hexo is in normal use:
1 | hexo clean |
Not surprisingly, you will get the following:
1 | INFO Validating config |
Install Theme
The following uses the butterfly theme as an example
Install theme:
1 | git clone -b master https://github.com/jerryc127/hexo-theme-butterfly.git themes/butterfly |
Change the theme used
Open _config.yml in the hexo root folder
Change theme: landscape to theme: butterfly
save
Test changing theme
1 | hexo g ; hexo d |

view your blog
Then return to the git program
Press ctrl+c
Gitlab create warehouse
Log in to Gitlab and click New project.
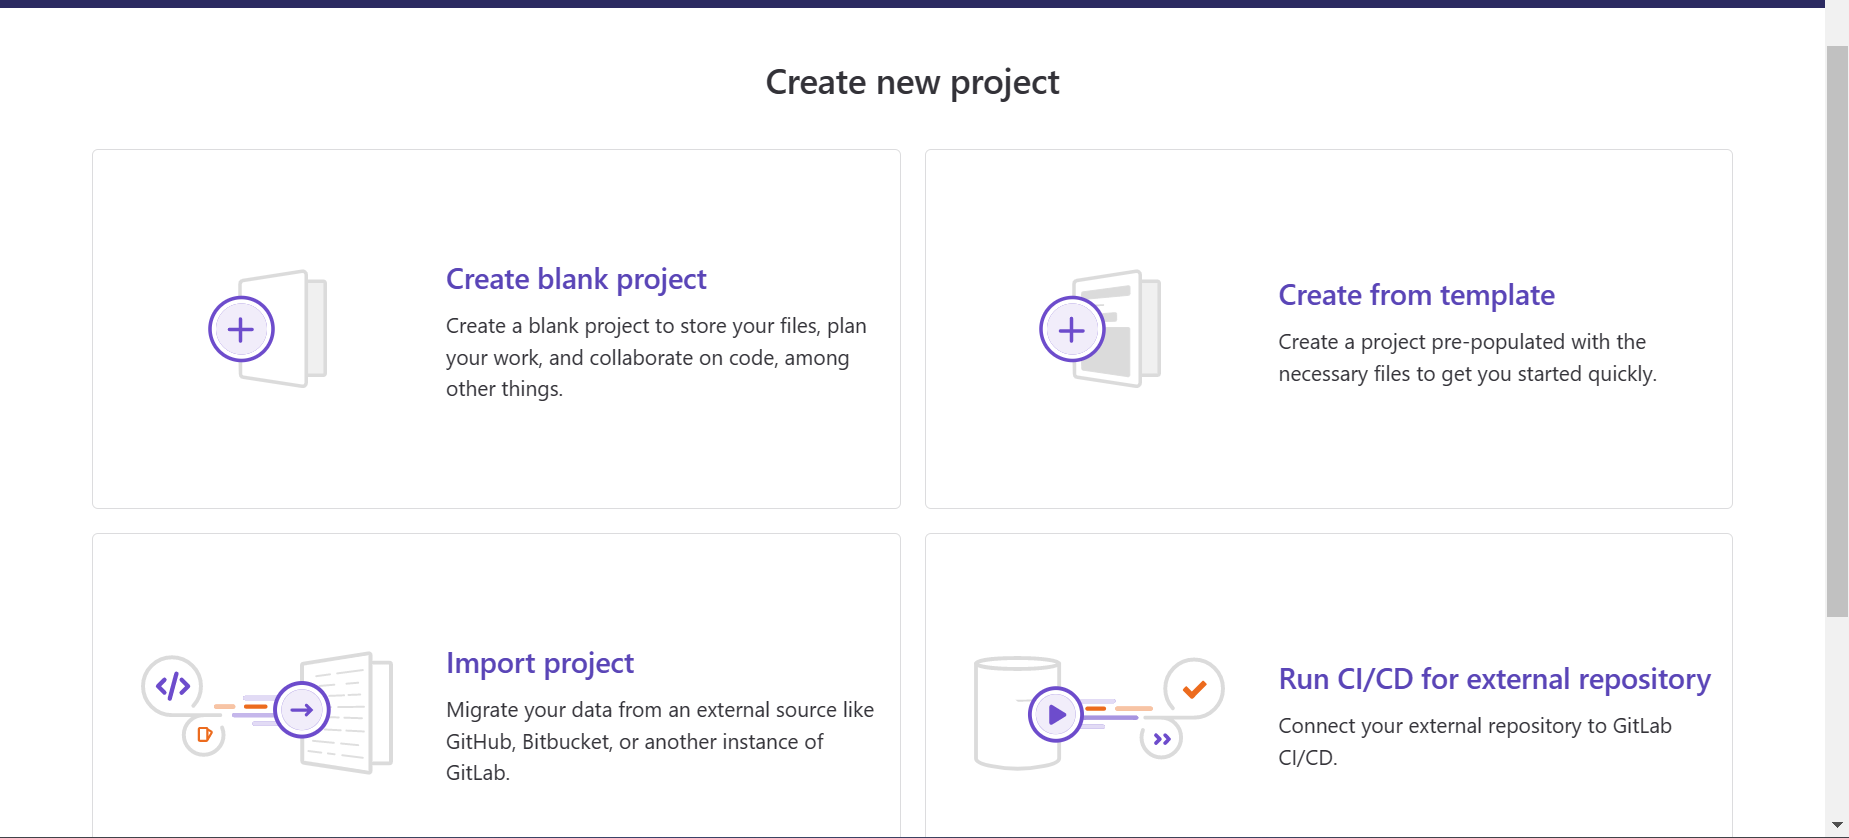
Select Create blank project
Project name fill in %yourname%.gitlab.io
Visibility Level select Public
Then click Create project
Upload project to gitlab
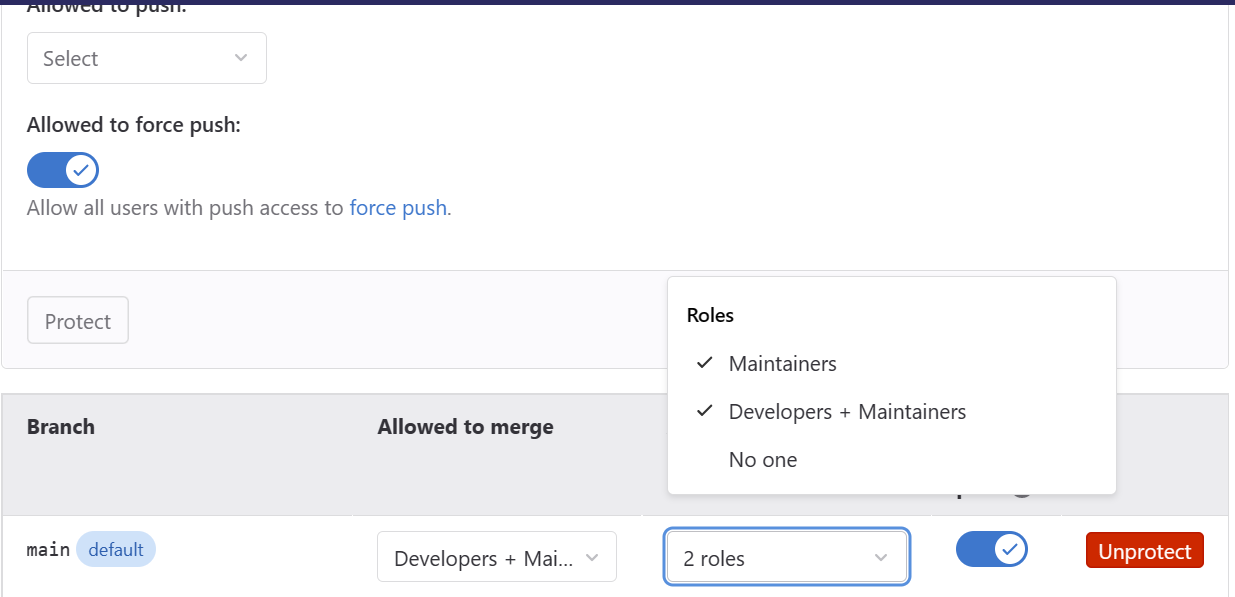
Go to settings/repository
Open Protected branches
Change it to the following option
Return to the git program in the previous step
1 | hexo clean |
Delete the themes/butterfly/.git folder
1 | git init |
Configure gitlab runner
(If you have a bank card for verification, please ignore this step)
Enter settings ci/cd
open runner
Open powershell as administrator
1 | New-Item -Path 'C:\GitLab-Runner' -ItemType Directory |
1 | Invoke-WebRequest -Uri "https://gitlab-runner-downloads.s3.amazonaws.com/latest/binaries/gitlab-runner-windows-amd64.exe" -OutFile "gitlab-runner.exe" |
and wait for it to complete
1 | .\gitlab-runner.exe install |
URL input https://gitlab.com/
token Fill in the registration token given in the link opened in the previous step
For the remaining three steps, press Enter three times
Enter an executor Enter shell
Edit C:\GitLab-Runner\config.toml
Change shell = "pwsh" to shell = "powershell"
then save and exit
Return to the powershell window opened in the previous step
Type ./gitlab-runner.exe restart
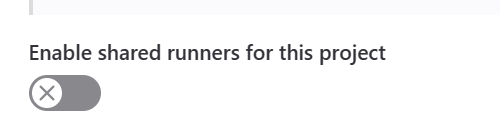
Return to the page opened in the previous step
Set Enable shared runners for this project
change to gray
Configure gitlab pages
Click the plus sign to create a new file named .gitlab-ci.yml
Fill in the content:
1 | image: node:lts |
wait 2min
Visit %yourname%.gitlab.io to view your deployed blog